
There are more then one tutorial on the internet on how to configure Xampp to run more then one domain. So far I could not find one that told the complete story. So here it is:
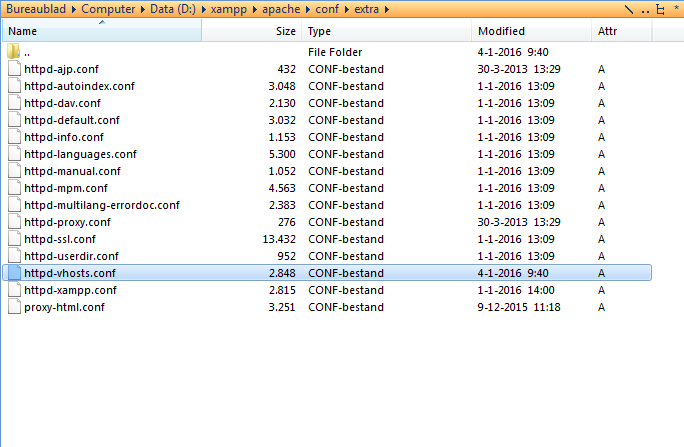
1) In the folder where your Xampp is installed is a folder locate called apache. That folder has a subfolder called ‘conf’ which has ha subfolder called extra. In that last subfolder you will find a file called httpd-vhosts.conf
Open that file in a text editor and
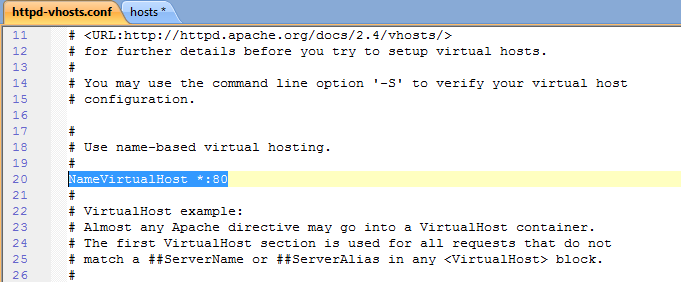
a) enable the virtual host ability by uncommenting line 20 (removing the ‘#’ in that line).
b) Add the virtual hosts code to the bottom of that same file. (You will find the code used below in the Toggle (+ sign)). Note i have my Xampp server installed in drive D:\xampp. Make sure you adjust that path when you grab the code snippet below.
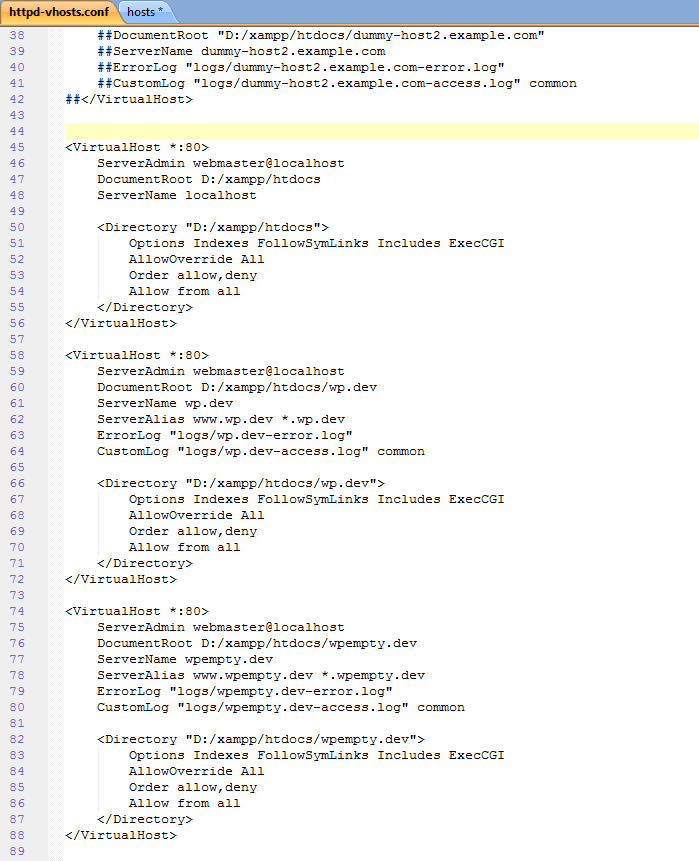
Now what you need to add is this code to keep the Xampp control panel alive is this:
<VirtualHost *:80>
    ServerAdmin webmaster@localhost
    DocumentRoot D:/xampp/htdocs
    ServerName localhost

    <Directory "D:/xampp/htdocs">
        Options Indexes FollowSymLinks Includes ExecCGI
        AllowOverride All
        Order allow,deny
        Allow from all
    </Directory>
</VirtualHost>
Then for each domain you want to run on your server add this code (change the yourdomain.com to the correct domain name. I used wp.tst and wpempty.tst in my code examples).
<VirtualHost *:80>
    ServerAdmin webmaster@localhost
    DocumentRoot D:/xampp/htdocs/yourdomain.com
    ServerName yourdomain.com
    ServerAlias www.yourdomain.com *.yourdomain.com
    ErrorLog "logs/yourdomain.com-error.log"
    CustomLog "logs/yourdomain.com-access.log" common

    <Directory "D:/xampp/htdocs/yourdomain.com">
        Options Indexes FollowSymLinks Includes ExecCGI
        AllowOverride All
        Order allow,deny
        Allow from all
    </Directory>
</VirtualHost>
Click on the plus sign for 'The Code Used'
<VirtualHost *:80>
    ServerAdmin webmaster@localhost
    DocumentRoot D:/xampp/htdocs
    ServerName localhost

    <Directory "D:/xampp/htdocs">
        Options Indexes FollowSymLinks Includes ExecCGI
        AllowOverride All
        Order allow,deny
        Allow from all
    </Directory>
</VirtualHost>

<VirtualHost *:80>
    ServerAdmin webmaster@localhost
    DocumentRoot D:/xampp/htdocs/wp.tst
    ServerName wp.dev
	ServerAlias www.wp.tst *.wp.tst
	ErrorLog "logs/wp.tst-error.log"
    CustomLog "logs/wp.tst-access.log" common

    <Directory "D:/xampp/htdocs/wp.tst">
        Options Indexes FollowSymLinks Includes ExecCGI
        AllowOverride All
        Order allow,deny
        Allow from all
    </Directory>
</VirtualHost>

<VirtualHost *:80>
    ServerAdmin webmaster@localhost
    DocumentRoot D:/xampp/htdocs/wpempty.tst
    ServerName wpempty.dev
	ServerAlias www.wpempty.tst *.wpempty.tst
	ErrorLog "logs/wpempty.tst-error.log"
    CustomLog "logs/wpempty.tst-access.log" common

    <Directory "D:/xampp/htdocs/wpempty.tst">
        Options Indexes FollowSymLinks Includes ExecCGI
        AllowOverride All
        Order allow,deny
        Allow from all
    </Directory>
</VirtualHost>
Save the file.
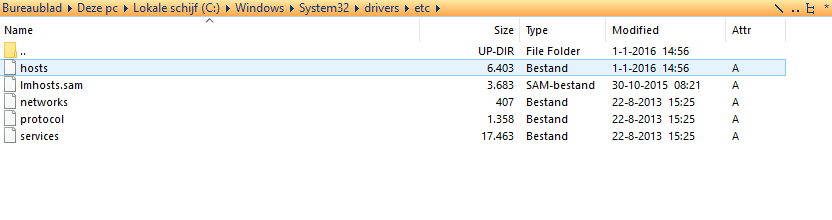
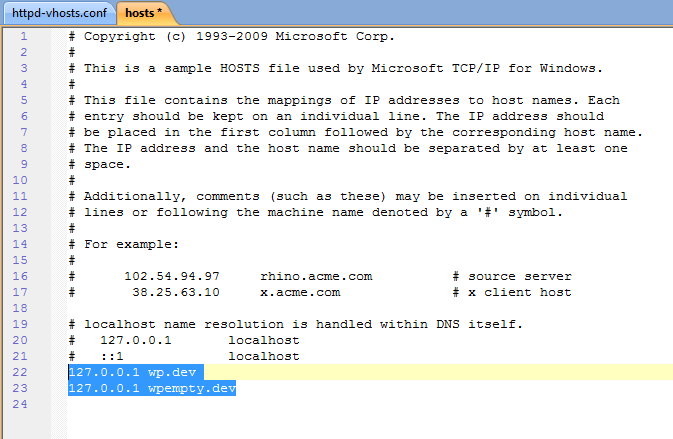
2) Change the windows host file. Now in order to be able to call the website in your web browser you need to adjust the host file of your windows install. The file can be located in C:\windows\system32\drivers\etc
Note : if your windows is not installed on the C-drive change the c:\ into the correct drive letter of your install.
Add, in this case as i have created two virtual servers, two lines
127.0.0.1 wp.tst
127.0.0.1 wpempty.tst
3) now Stop the Apache server and restart it again in the Xampp controll panel.
4) install your wordpress or whatever website cms in those folders. You need to create the subfolders in D:/xampp/htdocs first!!!
5) Open the browser and just type in http://wp.tst or http://wpdempty.tst
6) If your xampp is installed on drive C: just replace D:/ for C:/ in all code snippets given.
If all has been setup correctly you will see the website wordpress install or website cms system you installed.
NOTE: In the latest browsers you can’t use the .DEV extension for a development website as they will force to https:// because of that extension. Change the extension to anything else like .tst and it will work fine with http://wp.tst
UPDATE: The code examples have been changed to .tst extension but the images not. I apologise for that. The tutorial works just fine.